MyTradesecrets
Upload Documents
MyTradesecrets (MTS) lets you electronically send documents to Alberta Apprenticeship and Industry Training (AIT), without having to actually go into an AIT office. You can attach documents to new applications as well as add documents to your existing MTS file.
Important things to know
Documents you can upload include record book hours, employer letters, transfer forms (acceptance/release cards), transcripts, consent forms, certificates, passports/driver's license, receipts and any other relevant documents you need to send to an AIT Office.
Paper documents can be scanned or photographed. Make sure the image is clear and readable, or it may be rejected. Do not upload documents containing credit card information as these will be rejected. You can pay online through MyTradesecrets using VISA, Mastercard, AMEX, Visa Debit or Debit Mastercard via a convenient, safe, secure, password-protected source. Paying by credit or debit card is also accepted at any of the 12 AIT offices in Alberta.
The file must be:
- saved in .jpeg, .jpg, .gif, .pdf, or .png format
- less than 4MB
Tips to avoid having your documents rejected
- Do not upload the same image multiple times.
- For example, do not upload the same image as a Certificate and as a Credential.
- Ensure you have all necessary information and sponsor signatures in your record book before uploading hours
- See the sample record book page for information that needs to be completed before uploading.
- Do not upload additional documents that are not requested, such as a resume, pictures, etc.
- Do not upload multiple documents as one file. Upload each document individually.
- If you are submitting a single document that has multiple pages, you can upload it as one document.
- If you are submitting more than one document with either single or multiple pages, you must upload them individually.
- Do not upload documents you have received from AIT, other than specifically requested items.
- For example, do not upload result letters, class registration letters, AIT ID cards, etc.
- All uploaded documents must be in English or French.
- If your document is not in either of these languages, you must translate it into one of these two languages and upload both the original copy and the translated copy.
How to add documents to a new application
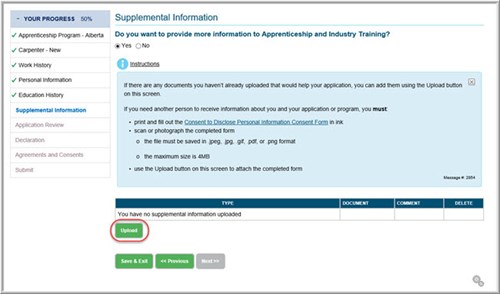
You may be asked to attach (upload) documents at various points in the application process. If you have additional documents that may be helpful to your application, you can add them through the Supplemental Information section of the application.
To add a document:
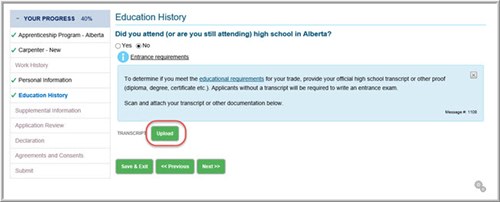
- Click the Upload button. If the button is greyed out, you may need to make a selection on the page to activate it (i.e., answering the question on the screen).
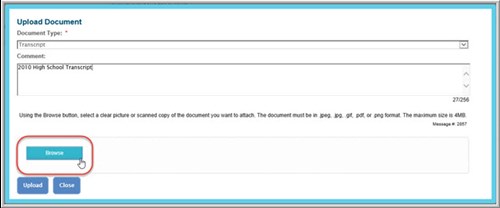
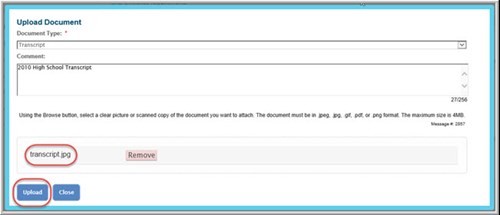
- The Upload Document window will appear, with the document type pre-selected based on the screen you’re on. Enter a comment if desired, then click the Browse button.
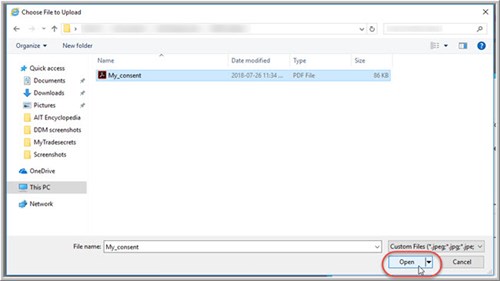
- Find the file location, then click Open, or select the best option from your mobile device.
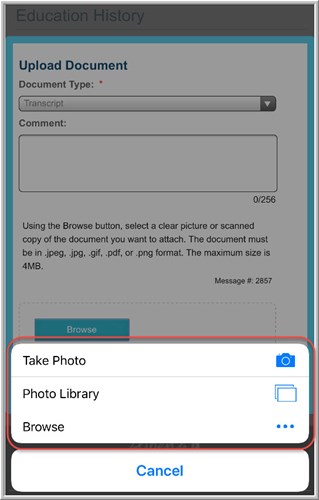
On mobile:- If you choose to take a photo, your camera app will open.
- If you have already taken the photo, select Photo Library to choose the image from your library.
- If the file is a PDF, select Browse to find the file on your device.
- When the upload is complete, you will see the file name. If the file is correct, click the Upload button. If you have attached the wrong file, use the Remove button to delete it.
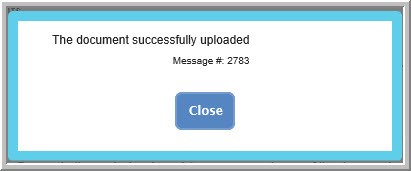
- If the upload is successful, you will get a confirmation message. If there is an error, you will get a message with additional information.
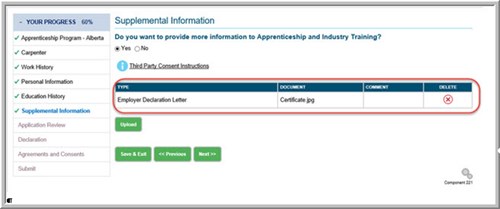
Using the supplemental information screen
When you add a document through the supplemental information screen, you need to clarify the type of document being added.
- Click the Upload button. If the button is greyed out, you may need to select Yes to activate it.
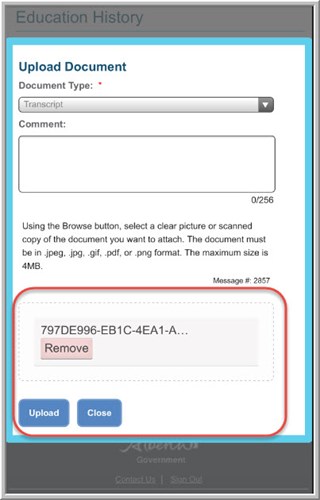
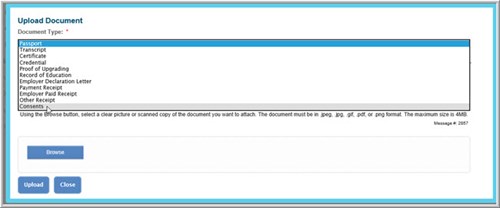
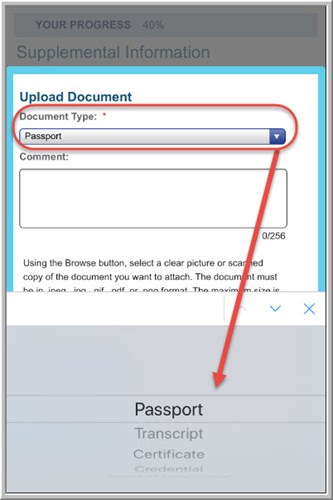
- The Upload Document window will appear. Select the type of document from the drop-down list.
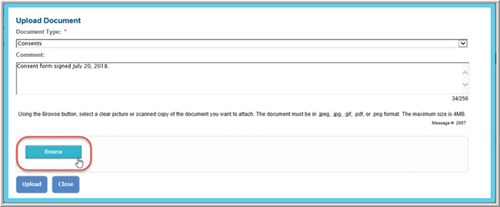
- Enter a comment if desired.
- Click the Browse button.
- Find the file location, then click Open, or select the best option from your mobile device.
On mobile:- If you choose to take a photo, your camera app will open.
- If you have already taken the photo, select Photo Library to choose the image from your library.
- If the file is a PDF, select Browse to find the file on your device.
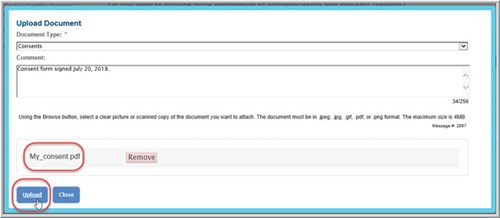
- When the upload is complete, you will see the file name. If the file is correct, click the Upload button. If you have attached the wrong file, use the Remove button to delete it.
- If the upload is successful, you will get a confirmation message. If there is an error, you will get a message with additional information.
- The document will now appear in the list on the screen.
- Repeat the process for any additional documents.
How to add documents to an existing file
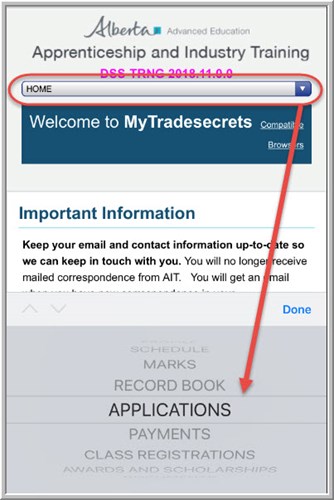
Once your application has been accepted, you can add additional documents at any time through your MTS account. Use the Applications screen to add documents to a specific application, and the Documents screen to add documents that aren’t tied to a specific application.
Adding a document from the MTS Applications screen
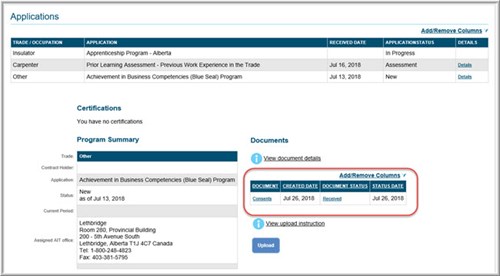
You can add a document directly to a specific application through the Applications screen in your MTS account. To add a document:
- Click the Applications link in your MTS account.

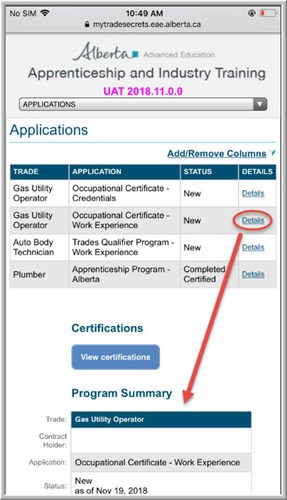
- Click the Details link for the application you want to add documents to.
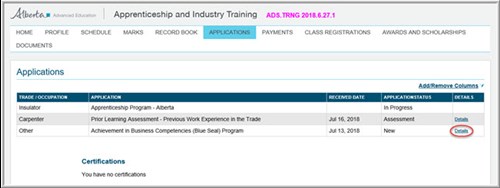
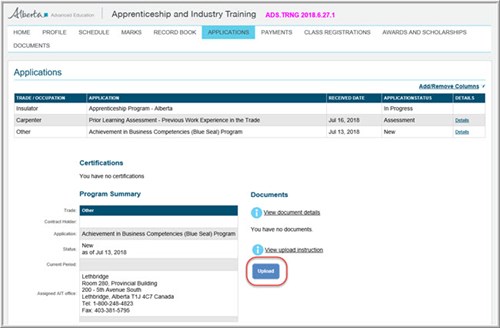
- Additional information about this application will appear below the applications list, including a documents section. Scroll to see this section on mobile.
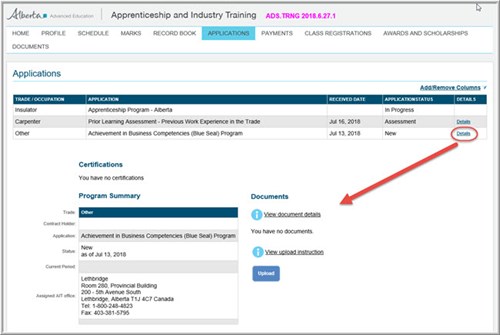

- Click the Upload button.
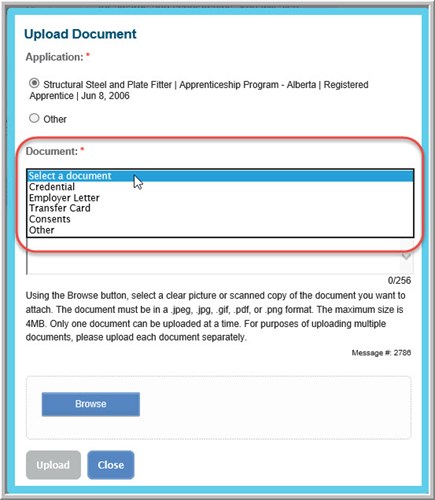
- The Upload Document window will appear, with the correct application automatically selected. Choose the type of document from the drop-down list.

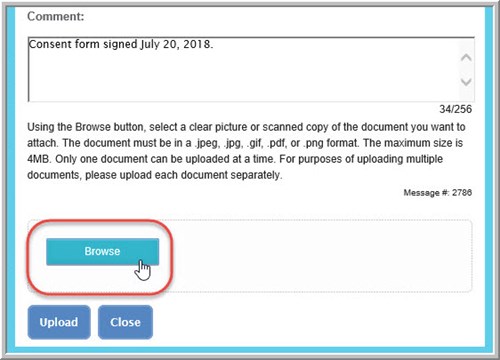
- Enter a comment if desired.
- Click the Browse button.
- Find the file location, then click Open, or select the best option from your mobile device.
On mobile:- If you choose to take a photo, your camera app will open.
- If you have already taken the photo, select Photo Library to choose the image from your library.
- If the file is a PDF, select Browse to find the file on your device.
- When the upload is complete, you will see the file name. If the file is correct, click the Upload button. If you have attached the wrong file, use the Remove button to delete it.
- If the upload is successful, you will get a confirmation message. If there is an error, you will get a message with additional information.
- The document will now appear in the list on the screen.
- Repeat the process for any additional documents.
Adding a document from the MTS Documents screen
You can use the Documents screen in your MTS account to add documents to a specific application, or to add general documents that aren’t tied to a specific application. To add a document:
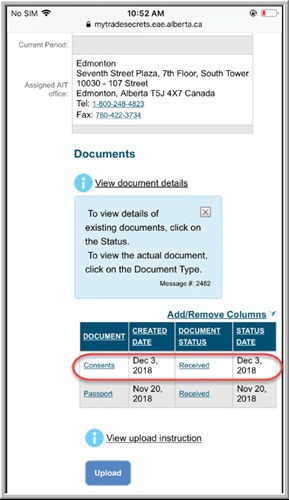
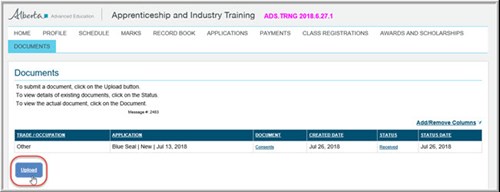
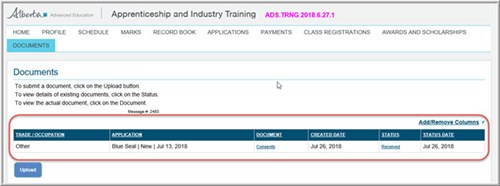
- Click the Documents link in your MTS account.


- Click the Upload button.
- The Upload Document window will appear. Select the application your document should be attached to. If your document does not apply to a specific application, select Other.
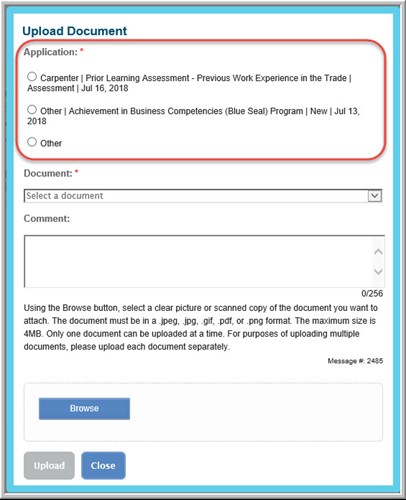
- Choose the type of document from the drop-down list.
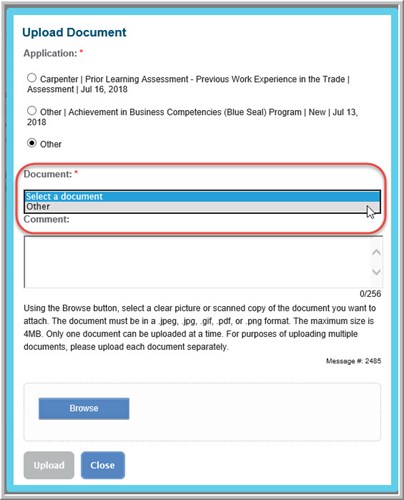
- Add a comment if desired. If you have chosen Other as your document type, you must add a comment describing the file.
- Click the Browse button.
- Find the file location, then click Open, or select the best option from your mobile device.
On mobile:- If you choose to take a photo, your camera app will open.
- If you have already taken the photo, select Photo Library to choose the image from your library.
- If the file is a PDF, select Browse to find the file on your device.
- Check the file name. If it’s the correct file, click the Upload button. If it’s the wrong file, use the Remove button to delete it.
- If the upload is successful, you will get a confirmation message. If there is an error, you will get a message with additional information.
- The document will now appear in the list on the screen.
- Repeat the process for any additional documents.
 Contact us with any questions